Build a Custom Website with R Studio and GitHub Pages, Part 1
One of R Studio’s best features is the ability to publish analyses in a reproducible, visually-appealing way using R Markdown. R Markdown weaves together text and R code chunks in an easy-to-use interface, allowing you to publish reports, presentations, and dashboards across formats – PDF, HTML HTML slides, books, websites, and blogs.
I first began using R Markdown to produce slide decks for work as an alternative to Powerpoint. R Markdown’s advantage is that should my data or code change, the changes are instantly reflected in the output by simply re-“knitting” the R Markdown file. No more copy-pasting data and charts from SAS to Excel to Powerpoint!
When I started thinking about creating my own data science blog, R was a natural choice. Thanks to Yihui Xi’s new blogdown project, you can build stunning blogs powered by custom Hugo themes and hosted for free on your Github profile using Github Pages. Each blog post is an individual R Markdown file, and the website is generated in R Studio and published by pushing to your GitHub repository.
Publishing a custom website involves using only R Studio and Git - no web design experience is necessary, although some HTML/CSS know-how is useful for making changes to the default settings.
Let’s go through the steps to build a custom website and blog with R Studio.
Getting Started - Get Excited
Start by envisioning what the site will look like. I began by browsing the Hugo themes website to find inspiration.
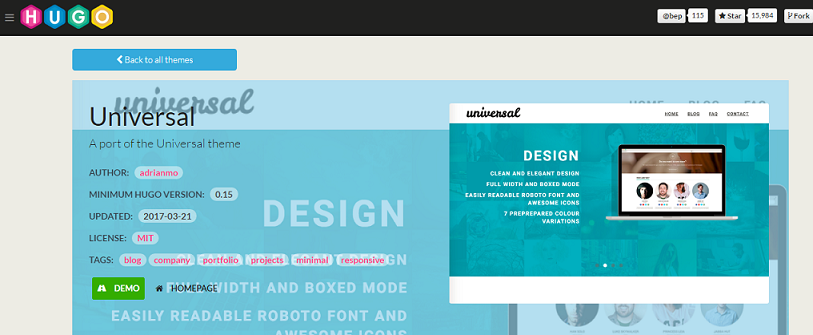
Universal theme, my pick
Once you have a theme in mind and can picture the end product, the next step is to install the blogdown package.
Install Blogdown and Hugo
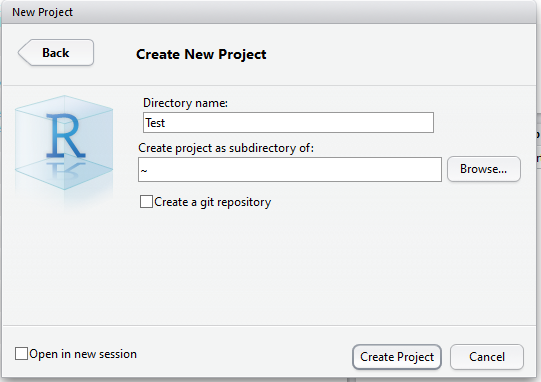
- Create a new R Project in an empty directory
- In R Studio, go to
File >> New Project
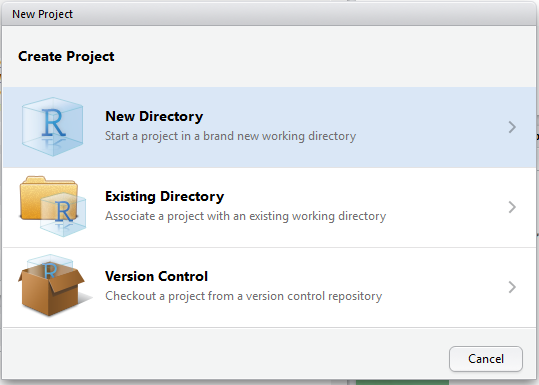
- Select
Empty Directory - Name the project
- In the R console, download
blogdown:
devtools::install_github('rstudio/blogdown')- Documentation is located on the package’s GitHub repository and at the blogdown website. Note that
blogdownis still in development, so some sections of the blogdown book are still being written! Yihui also points out the disclaimer thatblogdownmay not work with all Hugo themes.
- Install Hugo:
library(blogdown)
install_hugo()- Create new site with desired Hugo theme
new_site(theme='devcows/hugo-universal-theme')- Call the theme you want using the end of the URL for that theme’s Github page (e.g., ‘devcows/hugo-universal-theme’ comes from ‘https://github.com/devcows/hugo-universal-theme’)
- Yihui recommends installing the desired theme *when creating the
new_site()rather than using the built-ininstall_theme()function, because it will automatically update the site’s configuration file,config.toml. The configuration file is specific to each Hugo theme.
We recommend that you use the new_site() approach, because Hugo themes could be very complicated and the usage of each theme can be very different and highly dependent on config.toml. If you use new_site() instead of install_theme(), the default sample config.toml of the theme will be copied to the root directory of your website, so you can edit it immediately, otherwise you will have to read the documentation of the theme carefully to know how to properly write a config.toml by yourself.
Several things will happen when you create a new_site()
blogdownwill download all of the theme’s files - you can explore the files in theFilestab of the R Studio Viewer pane (bottom right corner in the default R Studio set up)- A sample blog post will be generated as a .Rmd file
- R Studio will automatically
serve_site()- the site will be generated in theViewertab of the Viewer pane, and the Console will be in use. Every time you make changes to any of the website’s files and hitSave, the site will be automatically re-generated and the updated version will appear in theViewerpane.serve_site()is the default setting, but I find it easiest to hit theStopbutton in the Console while making changes, and then when I’m ready, typingserve_site()into the console to see the updates.
Explore and modify site content
Creating a new_site() generates a completely workable, albeit default, website.
Now it’s time to make it your own. Start by exploring the Files tab in the Viewer pane.
The next post will cover customizing the site, creating blog posts, and publishing to GitHub Pages.